Why we built this
LLM applications aren’t just single prompts. They include complicated workflow logic with retrieved documents, multiple LLM calls, and various parameters:
- RAG applications have embedding models, top-K values, and reranking settings
- Agent workflows include reasoning steps and tool calls
When Subject Matter Experts (SMEs) like lawyers or doctors test prompts in isolation, the results often differ from what happens in the complete application or in production. The experts can’t access the full application context or modify critical parameters. As a result:
- SMEs working on prompts without full application context get unexpected results when those prompts run in the actual application
- SMEs cannot change important parameters beyond the prompt (tool descriptions, embedding models, top-k values in RAG)
- Time is wasted between developers and SMEs handing over prompt configurations only to find different results
- Engineering bottlenecks form when only developers can run evaluations while SMEs can only work on single prompts
This creates unnecessary back-and-forth between developers and domain experts, slowing down development cycles.
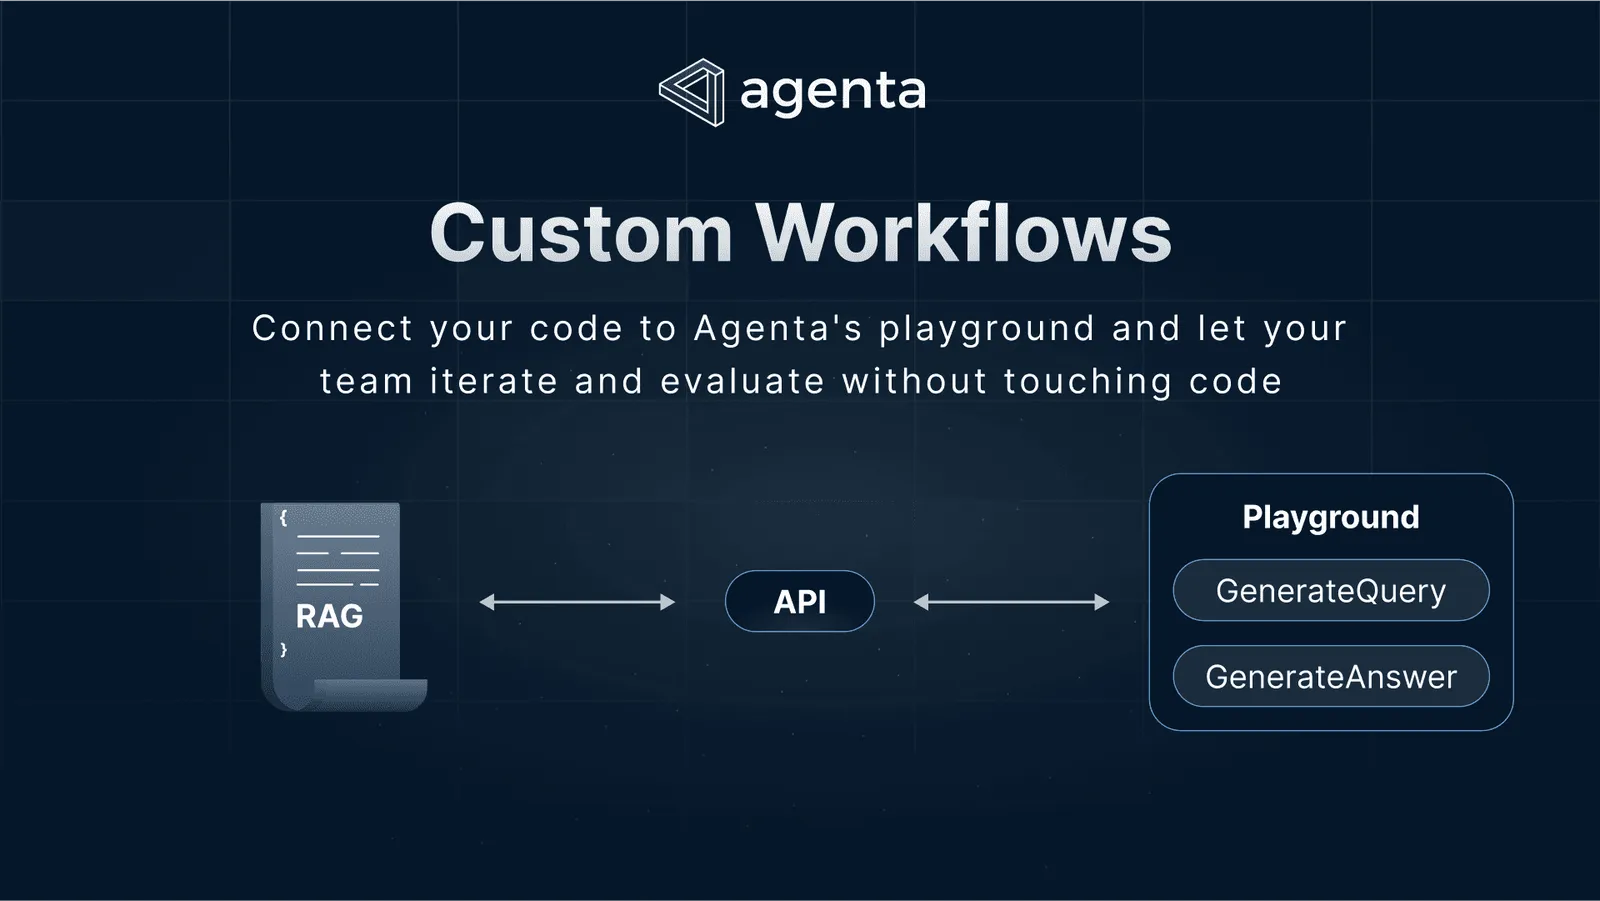
What Custom Workflows does
Custom Workflows allows you to connect your application to Agenta with minimal changes. Once connected:
- Your team will have access to a playground where they can modify any parameter you expose - prompts, embedding models, top-K values, etc.
- You can version, compare, and deploy the entire configuration schema you specify to your application
- SMEs can not only run the app with different configs, they can also run evaluations and annotations end-to-end for the app
How to implement it
To connect your application to Agenta, you need to expose an endpoint to your application using our Python SDK. Agenta uses the exposed endpoint to read your configuration schema and generate the appropriate playground to interact with your app, letting your team modify parameters without touching code.
Here’s an example of our SDK in action:
from openai import OpenAI
from pydantic import BaseModel, Field
import agenta as ag
from agenta.sdk.types import PromptTemplate

ag.init()

client = OpenAI()
prompt1 = "Summarize the following blog post: {blog_post}"
prompt2 = "Write a tweet based on this: {output_1}"

# We define the configuration of the app using a Pydantic Class
class CoPConfig(BaseModel):
    prompt1: PromptTemplate = Field(default=PromptTemplate(user_prompt=prompt1))
    prompt2: PromptTemplate = Field(default=PromptTemplate(user_prompt=prompt2))

# Agenta will interact with your code using this route
@ag.route("/", config_schema=CoPConfig)
def generate(blog_post: str):
	# config contains the context fetched from the request
    config = ag.ConfigManager.get_from_route(schema=CoPConfig)
    formatted_prompt1 = config.prompt1.format(blog_post=blog_post)
    completion = client.chat.completions.create(
        model="gpt-3.5-turbo",
        messages=[{"role": "user", "content": formatted_prompt1}]
    )
    output_1 = completion.choices[0].message.content
    formatted_prompt2 = config.prompt2.format(output_1=output_1)
    completion = client.chat.completions.create(
        model="gpt-3.5-turbo",
        messages=[{"role": "user", "content": formatted_prompt2}]
    )
    return completion.choices[0].message.content
You can read the documentation for more details, get started, and watch the announcement for a short demo.
The Technical Solution
Behind the scenes, our SDK creates an endpoint authenticated with your Agenta credentials that Agenta uses to communicate with your app. The SDK uses FastAPI to create an openapi.json that exposes the Pydantic class you configure for your configuration. Agenta uses the openapi.json to discover the config schema and generate the UI playground. It then uses that endpoint to communicate with the application.
How to get started
Check out our documentation for step-by-step instructions and more examples.
Custom Workflows is the second of five major features we’re releasing this week. Stay tuned for more tomorrow.